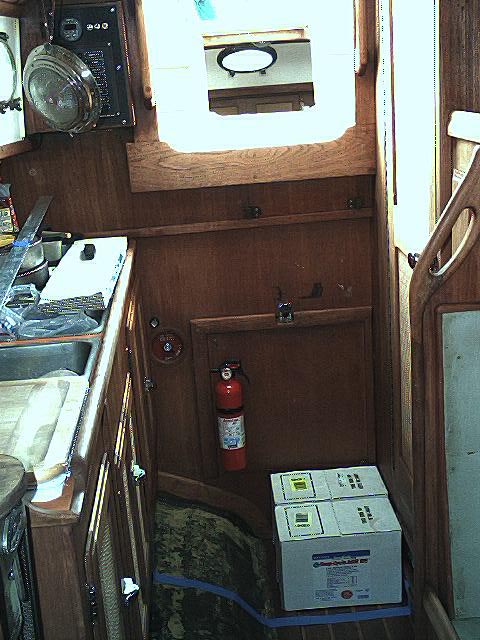
We Bought the two battries we were going to use. We then used the empty battery boxes that they came in to get a general size on the compartment we would need to build.
| HOME | Outfitting Guenevere | Contact
us |
Our DVDs |
Video Shorts |
| Short
Hops (Local Bay area cruises) |
Our Plans and Tracking | Our Position
Reports with photos |
Guenevere's Reading Room |
Links we like |
Guenevere's
new power
Project completed June 2002
Note:
Click
on any image to see a larger view, then use your browser "Back"
button to return to this page.
As we lived and sail aboard Guenevere we came to realize that we would like to have a bit more electrical power available. When we got her, she had just one house battery and one starter battery. They were both a group 27 deep cycle. This worked well for us at the time, with no refrigeration and no HAM radio aboard. But our exceptions were expanding.
We had to make a decision, modify the boat and have cold stuff & talk on the radio, or do without.
The decision came when we were talking by e-mail to other Nor’Sea 27 owners. He had put 2 additional batteries at the base of the main companion way ladder.
We liked the sound of that! It would not require MAJOR modifications to the boat. And, we would not have to do without other items that are now placed where a spare battery would have to be stored.
With the decision made I begun the planning process.
We would add a box at the bottom of the companion way ladder. This box would take the place of the last step. It would be wide enough to go from the head wall to the bulkhead below our cooker. The battries would take up the space just below the ladder and a small hatch would be put in the top of it just to the inboard side of the ladder to allow storage of my mobile tool bag. That would allow it to serve two functions. If we were lucky, it might even have room for some small parts storage.
We
Bought the two battries we were going to use. We then used the empty
battery boxes that they came in to get a general size on the
compartment we would need to build.
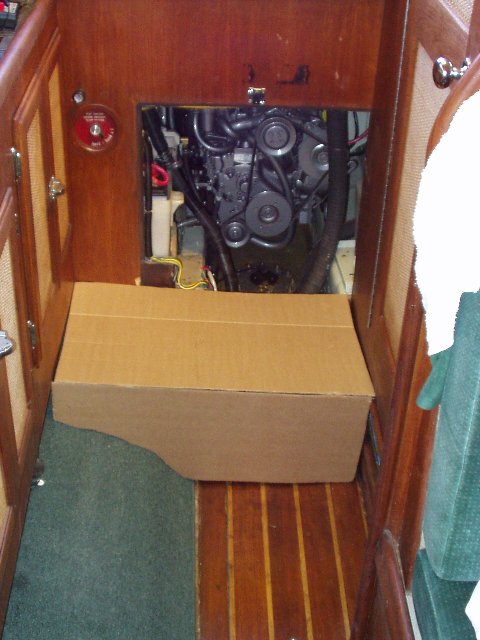
This
is the cardboard mock-up in place to insure we could do the job. We
then used the cardboard parts as full size templates to cut the
plywood. 
This shows the first parts of the box in place. I took pains to
fasten it in with screws only. In that way it can be removed if I
need to remove the engine.
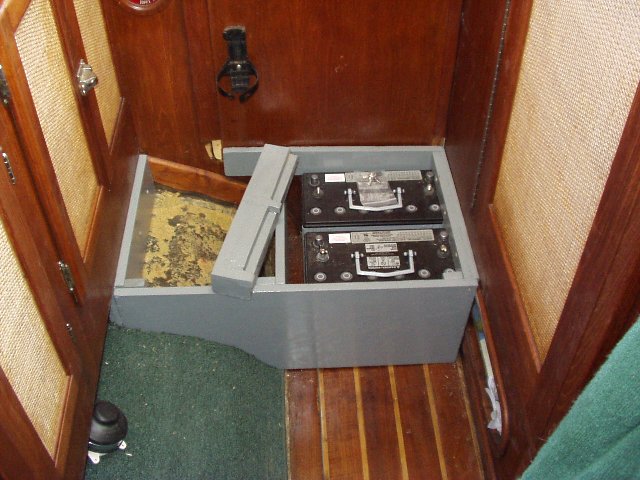
This
is the base box in place and coated with bilgecoat paint. Notice the
top board. This keeps the batteries locked place when the top of the
box is in place.
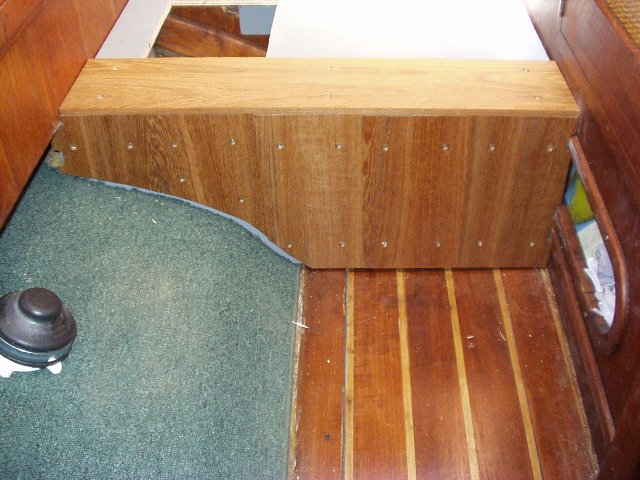
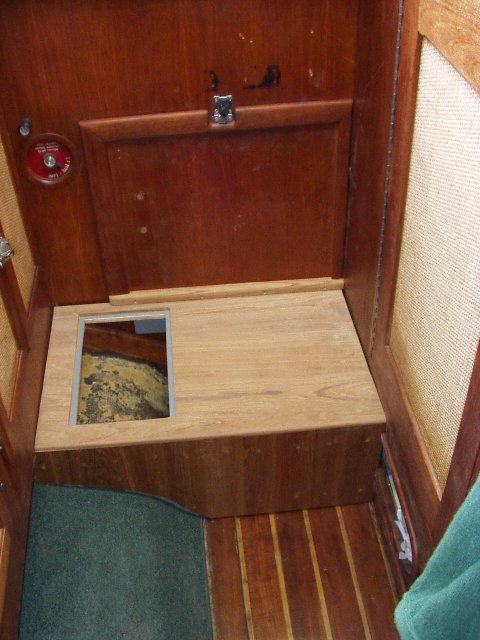
I
next covered the base box in teak. Each pice was screwed in and the
hole was filled with a bung. You can see the opening for the tool
compartment on the left side of the photo.
This is a photo of most of the teak in place. I mounted a teak
bar on the engine compartment door that rests on top of the
compartment top. This helps hold it in place.
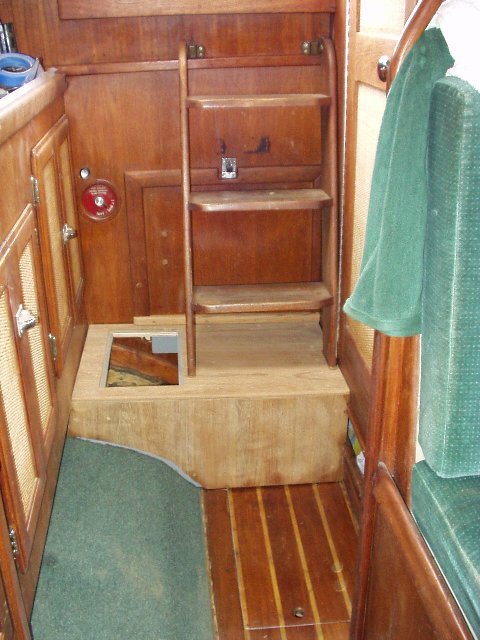
We then cut down the ladder to fit to the top of the box. A VERY scarry thing to do!

Here
is a photo of the finished box. It has had one coat of teak oil. More
to come later.
I also put two berrel boalt locks on the ladder.
With the bolts out, the ladder is locked in place and will not move
or come off even in a rollover!
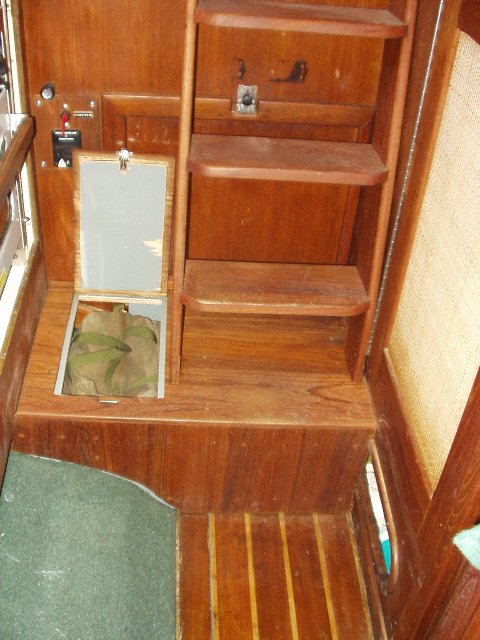
This final shot shows the box with the tool compartment open.
Thats my "Quick Grab" took bag.