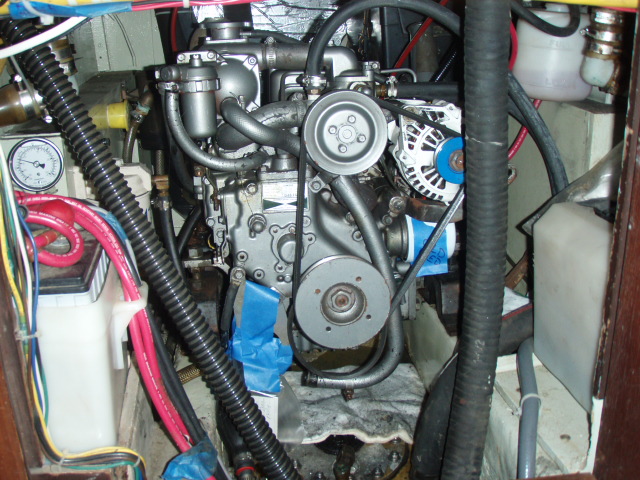
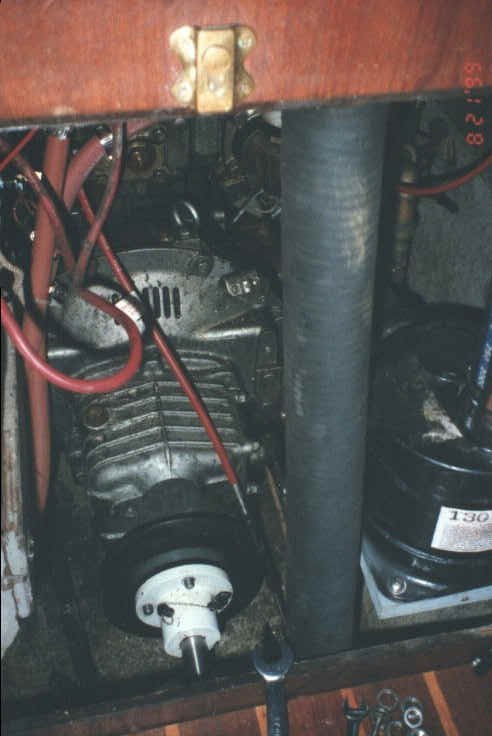
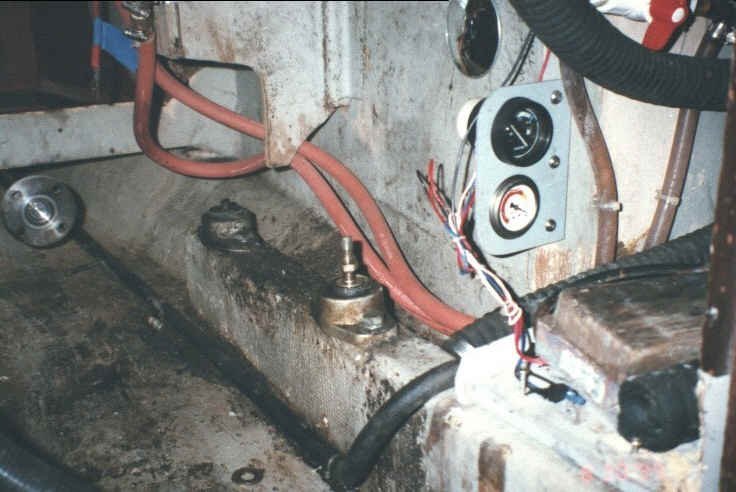
This is a view of the forward end of the motor from the main cabin.
The first thing you need to do is to disconnect all external connections to the motor. Things like throttle cable, Tranny cable, electrical cables, Etc...
| HOME | Outfitting Guenevere | Contact
us |
Our DVDs |
Video Shorts |
| Short
Hops (Local Bay area cruises) |
Our Plans and Tracking | Our Position
Reports with photos |
Guenevere's Reading Room |
Links we like |
Nor'Sea
Engine Replacement
We Changed out
an old Yanmar 2QM15
For a new Yanmar 2GM20F
Note:
Click on any image to see a
larger view, then use your browser "Back" button to return
to this page.
The engine on the Nor'Sea is under the cockpit sole, and between
the aft cabin (or lazerett on aft cockpit models) and the main cabin.
I have heard a lot of talk about cutting out the cockpit sole to make
it easy to get to the motor. This does not sound like a bad idea and
in truth, I thought about that for some time before I make actually
did the job. BUT, I hate to cut holes in Guenevere! So I talked to Ed
Zacko and Dean Wixom for advise and they both said it was easy to
change out the motor. THEY WERE CORRECT!
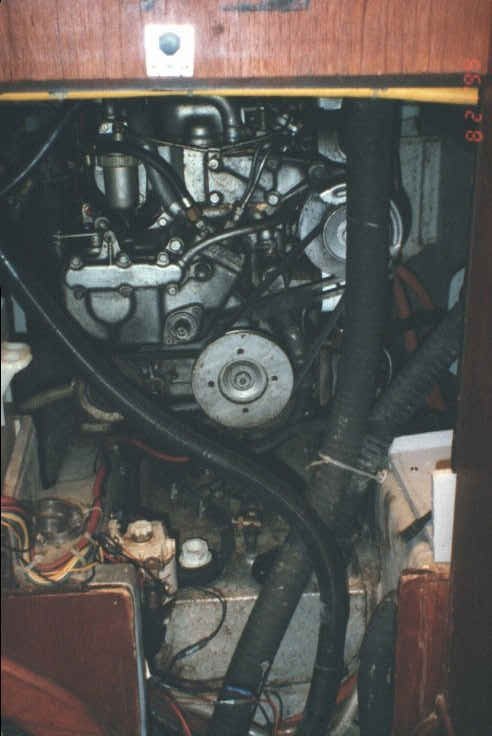
This
is a view of the forward end of the motor from the main cabin.
The
first thing you need to do is to disconnect all external connections
to the motor. Things like throttle cable, Tranny cable, electrical
cables, Etc...
I also removed the alternator, but I do not think that must be
done.
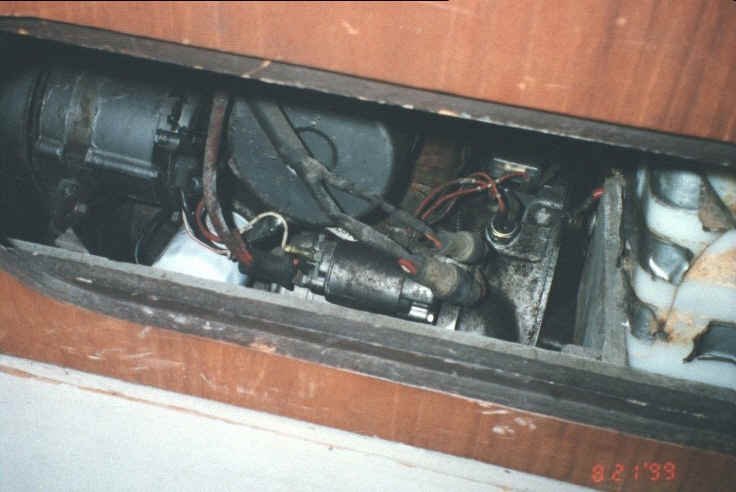
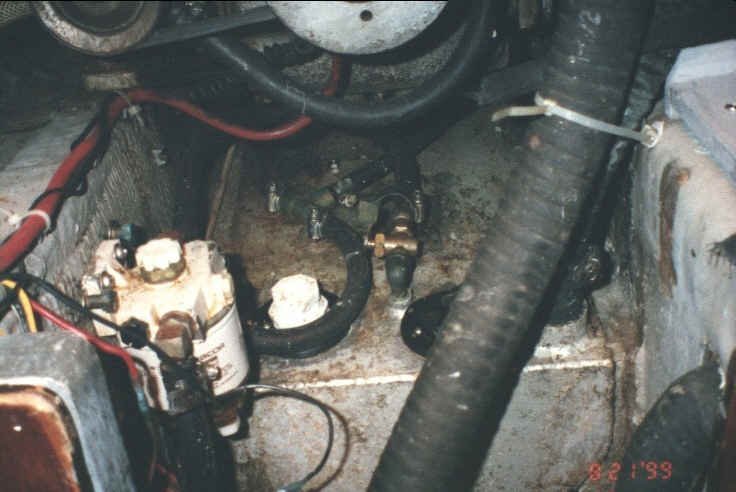
This
is a view looking at the motor through the port aft cabin birth foot
well. All the starter cables and tach sending wire was disconnected
through here.
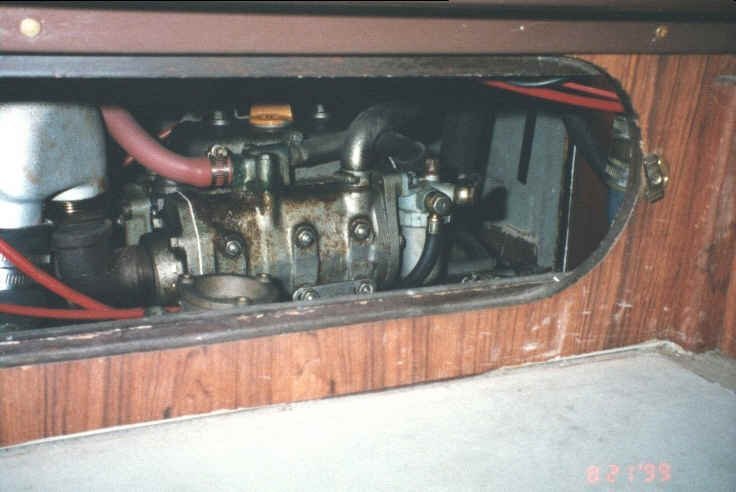
This
is a view looking at the motor through the starboard aft cabin birth
foot well.
This
is a view of the aft end (tranny) from the aft cabin.
I
also removed the fittings from the top of the fuel tank. As I knew I
was going to replace the tank I did not bother to tape up the
openings or protecting it in any way. Then remove the nuts from the
engine mounts.
Now the trick Ed & Dean gave me. I bought a 2 X 8 board from
Home Depot.
Place the board under the motor from the forward
cabin as far back as you can (under the aft cabin floor). Smear the
top of the board with grease. I used liquid dish soap to make it
slippery.
Then I moved my boom vang and attached it from the
forward compression post to the front of the motor.
Now you lift one end of the board just enough so the engine mounts
clear the top of the mount bolts.
You can now use the vang to
pull the engine forward into the main cabin just so the tranny is
clear of the bulkhead and the motor is under the main hatch. Then
remove the van as you will be using it to take the engine out of the
boat.
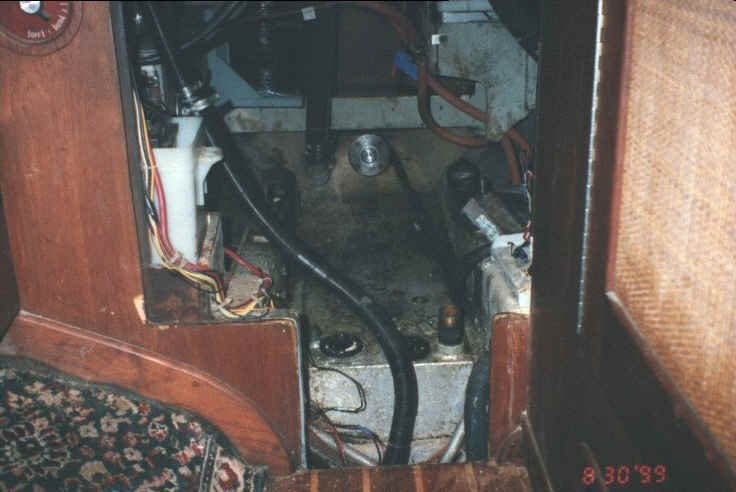
This
shows the engine compartment just after the engine was out.
Here
is a photo of the starboard side of the engine compartment showing
the two old engine mounts.
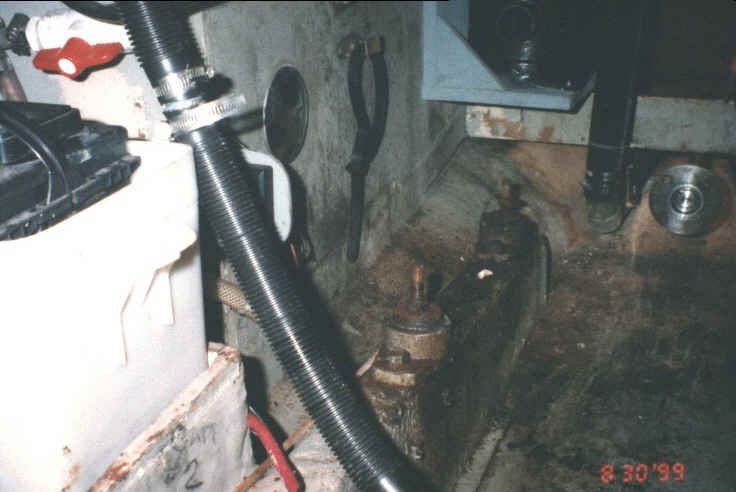
This
shows the port side. Note the aft engine mount. The bolt is broken
off. I did NOT know this was broken until I was removing the engine!
NOTE: If you will be changing to a new motor, you
will be getting new motor mounts. When you remove the old mounts, use
wood dowels epoxied into the old holes in the mount timbers. That way
you can drill and tap new holes in the same area if you need to.
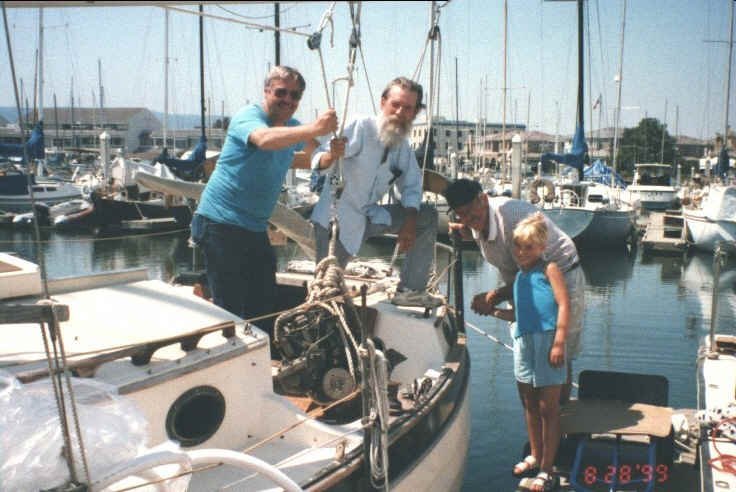
That's
Gary Campbell & Bryan McIntyre helping me.
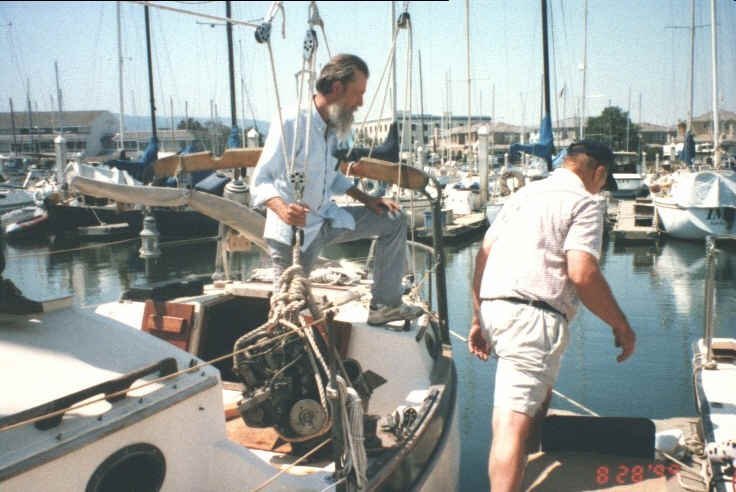
I then centered the boom and attached one end of the vang to it at a point just over the motor. The I then fastened the main halyard around the boom just where the vang was attached to it and made the free end fast at the mast cleat. In this way, the halyard was taking the strain, NOT the boom! I also attached a line with a block to the motor to control a bit of forward & aft movement.
We
now swung the boom out over the dock and put the old motor on a
dolly. And off it went to a shop for a rebuild.
Then the BAD news.
After a
week I was given an estimate of the cost to rebuild it. As it turns
out that cost was within $500 of the amount I was able to purchase a
new motor for! I still had to think about that for a while as I was
not sold on the fact that if I put in a freshwater cooled motor it
was added parts and another type of fluid I would have to carry
aboard. I know salt water cooled motors last a LONG time so that was
not part of my thinking.
Well, as you know we decided to spend the extra money and get the new motor. And, I sold the old one for parts for $500.00, so it was even up.
When we bought the new motor, we also bought the manuals with it.
The mounts of the new motor were not the same spacing as our old 2QM.
So I had new spacers made to make the new mounts come out to the same
width as the old ones. In that way we did not have to make any
changes to the mounting timbers. 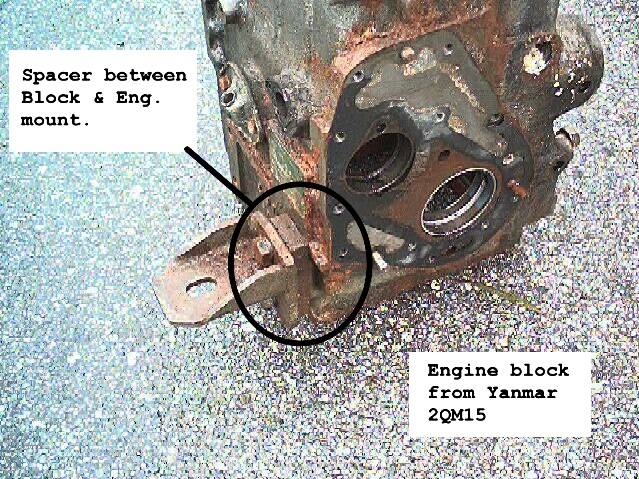
For the engine block mounts, it's the thickness that counts. You
may need new longer bolts here.
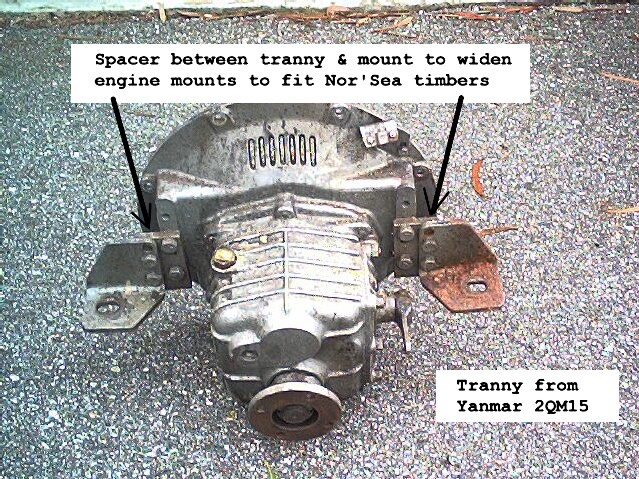
For
the tranny mounts, it's width that counts.
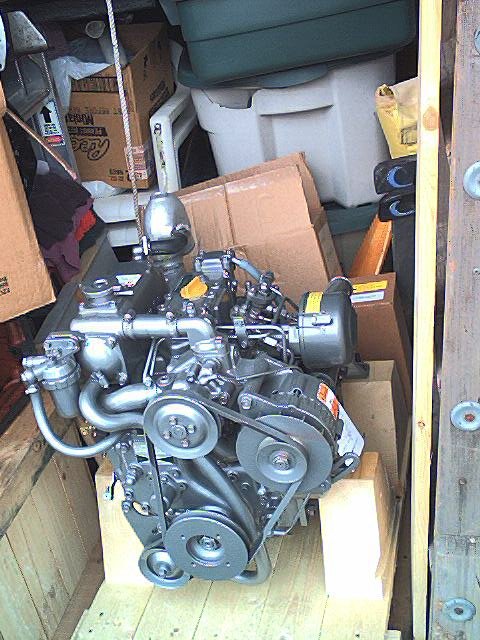
Here it is, installed and after we arrived in Mazatlan Mexico!