| HOME | Outfitting Guenevere | Contact
us |
Our DVDs |
Video Shorts |
| Short
Hops (Local Bay area cruises) |
Our Plans and Tracking | Our Position
Reports with photos |
Guenevere's Reading Room |
Links we like |
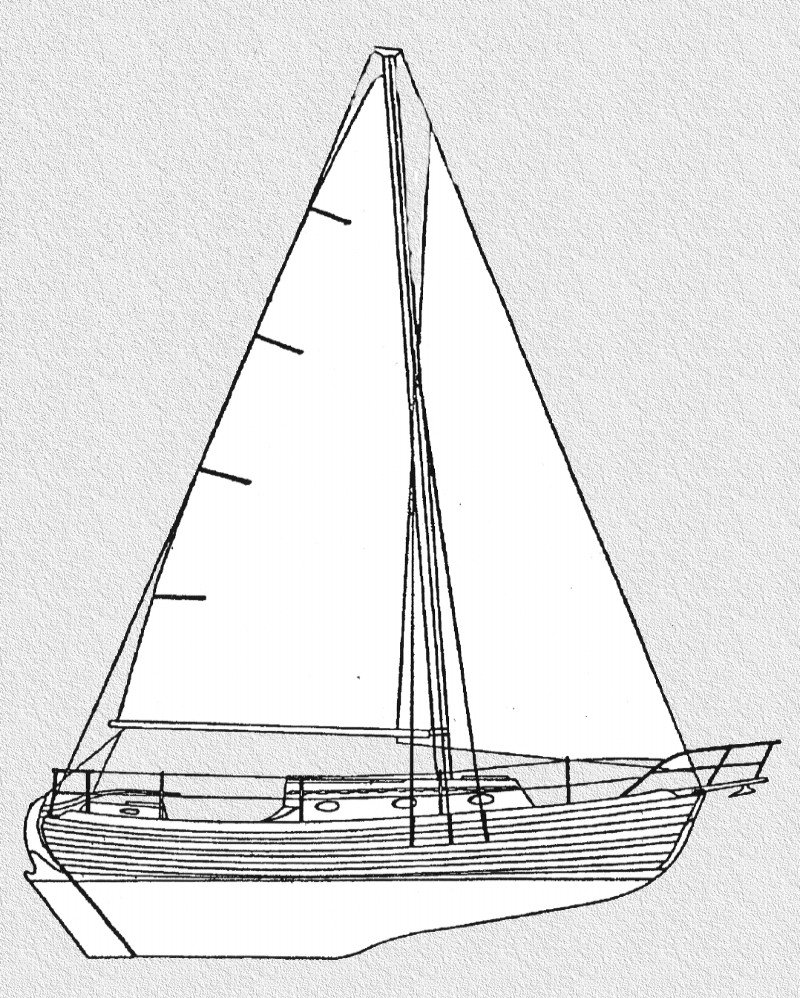
Nor'sea 27
Fuel Tank Replacement
** Click on any photo to see it larger. **
If you are thinking of purchasing a Nor'Sea 27, one of the first
things you should check out is the fuel tank. The fuel tank is in the
kiel, below the engine, between the prop shaft packing gland, and the
bilge. So, if the packing gland leaks, water (salt water if you are
on the ocean) flows over the tank before it gets to the bilge. This
is NOT a good thing! Many of the older Nor'Seas have had to replace
their tanks.
HEED MY WORDS!
THIS IS THE
WORST JOB
YOU WILL EVER HAVE TO DO ON A NOR'SEA!!
Note:
Click
on any image to see a larger view, then use your browser "Back"
button to return to this page.
To change out the tank, you first have to remove the engine and
the prop shaft must be out of the way. I took a long time to do this.
I thought it was going to be a BIG job to pull the motor. I called Ed
Zacko and also talked to Dean Wixom before I started the job. I was
very surprised! It was easy to do! After the engine was out I started
the tank replacement.
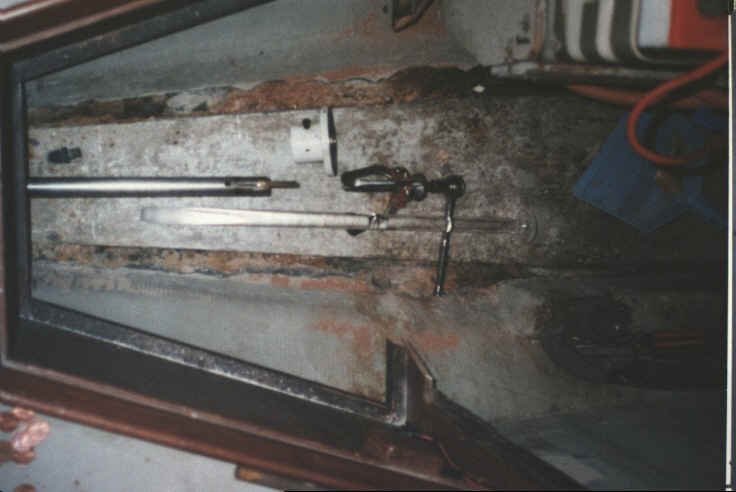
This is a photo of the old prop shaft with the Plexiglas 1 inch shaft that I used to replace the metal shaft. I did this in the slip. We tied a length of yellow line around the prop. I loosened up the packing and slipped the Plexiglas rod into the packing, pushing the metal shaft out as Jill held the yellow line so we didn't loose the shaft & prop. Done! The prop shaft out and not a drop of water came into the boat!
Next, we had to cut away the glass cap over the foam between the sides of the tank and the hull. we than had to remove as much of the poured in foam as we could! We used a thin saw to go down between the tank and the hull. We broke away as much of the glass bulkhead at the forward end of the tank as we could. This is a VERY hard job!! If you do not remove a LOT of foam, the tank will NEVER come out! AND, by the way, at the aft end of the tank a bolt goes through the hull and you must be careful not to hit or loosen this or water will come in if you are still in the slip.
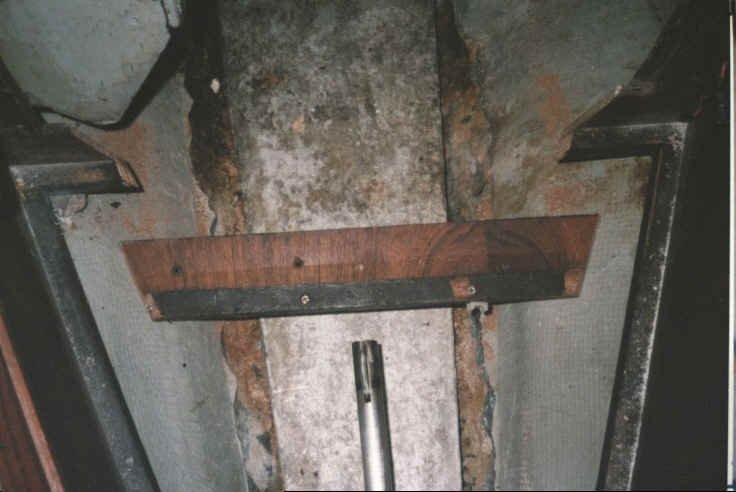
This is a view looking down in the aft cabin. It shows the aft end
of the tank, the prop shaft, and the only part of the boat trim that
had to be cut. The trim is the member that the aft cabin floor panel
sites on. Notice that I cut it on an angle. To put it back together I
use an aluminum "L" from Home Depot to support it. The "L"
was placed under the cross member and screwed into place. AND, due to
the way the angle cut was made, any weight on the piece cut out
forces it to wedge tighter into place.
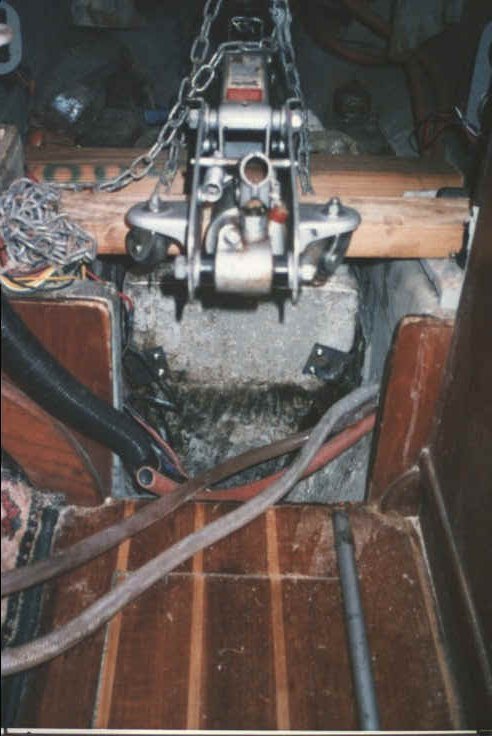
Bob Loiacono, who had finished replacing his tank had designed two tools help remove the tank. He made two fittings that screwed to the front of the tank and came up the outside. Each had a hole at the top that a chain could be run through. In the photo you can see them just above the rubber hose running into the engine compartment screwed into the tank. I then put a couple of 2 X 4s across the engine mounts. On top of them I put a small car jack. I then fastened a short length of chain through the holes in the removal tool and over the jack. Now, by pumping the jack handle, the tank was broken free of foam holing it in place. Note: it's a lot easier to write here than it was to do!! I had to try a few times with the jack, then go back and remove more foam and try again!
BAD NEWS: I loaned out the tools, they were sent back to me at a
local store as we did not have a street address to send them to. At
any rate, they were lost by the store.
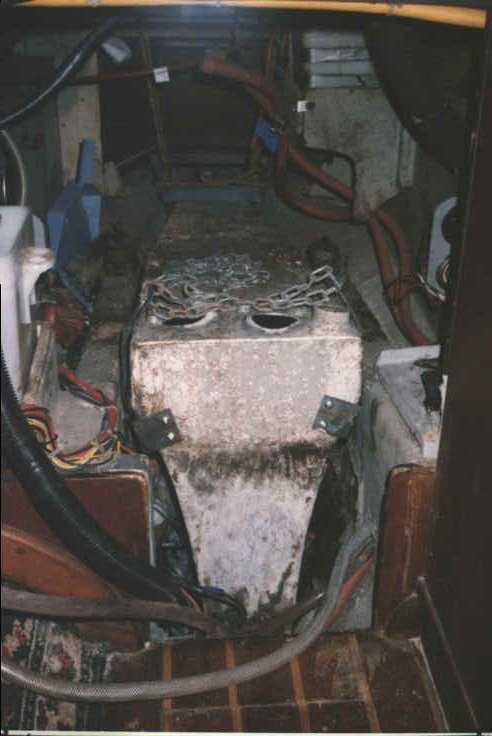
This shows the tank broken free and up a bit. Once again, you can
see the fittings screwed to the front of the tank.
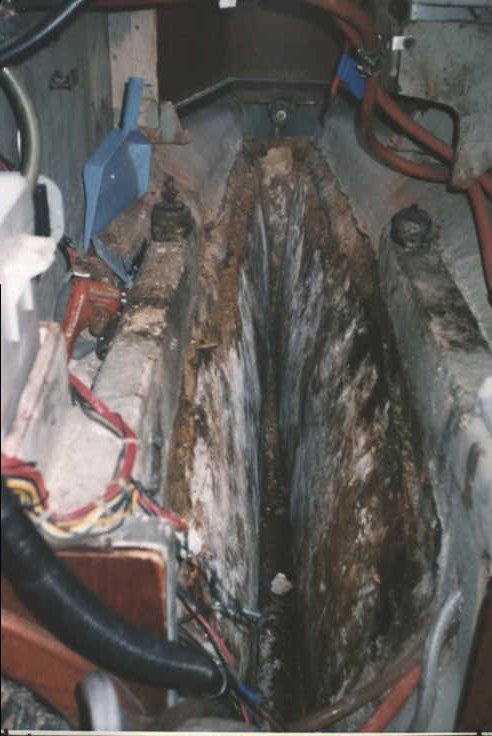
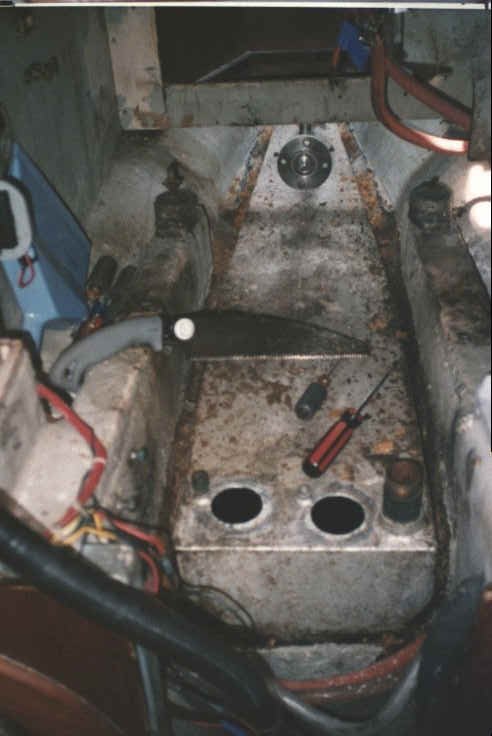
This is a view of the tank area with the tank removed. And WOW,
what a wonderful aroma greeted us once the tank came out!
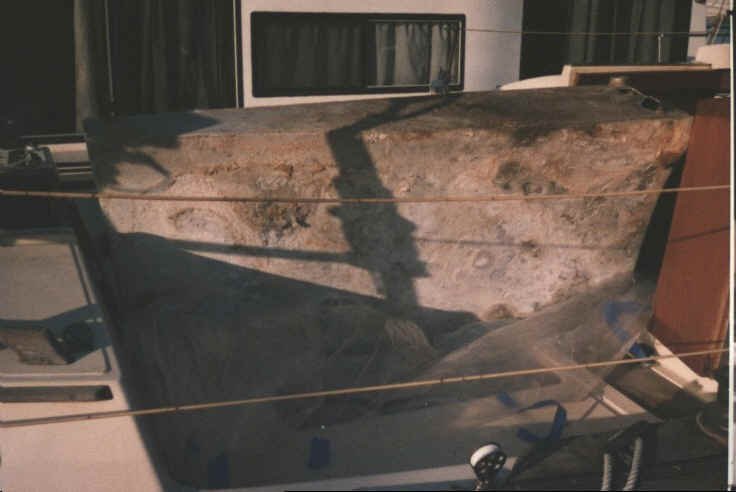
Here is a view of the thank after I removed it. It's sitting in the cockpit. All of the white you can see on it is corrosion! NOT FOAM. I want to add, when I inspected the inside of the tank it looked GREAT! You could not see one problem on the inside.

Once out I went to take a photo and held a pen up to the side of the tank to point out a dark spot. When I touched the spot, the pen broke straight through into the tank!!!
Three more views of the "OLD" tank..... 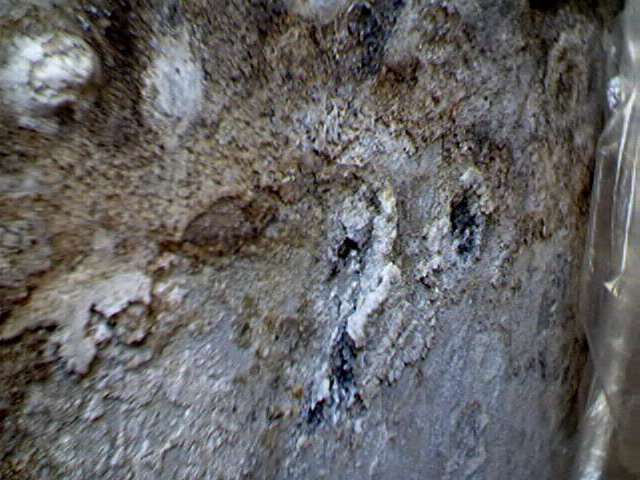

The
aft end of the tank.
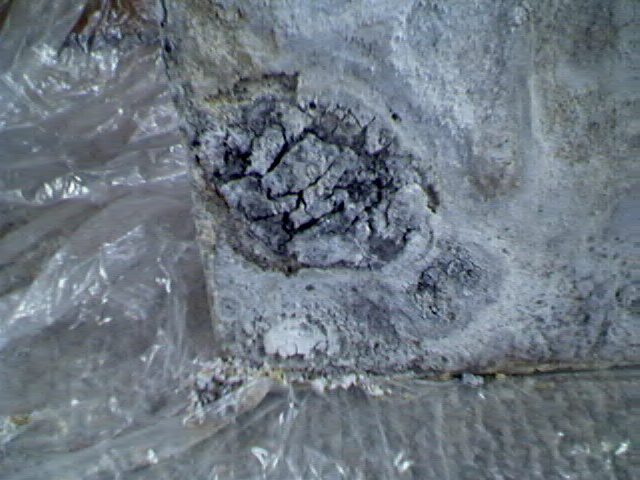
A
close up of the very aft end of the tank. Bottom starboard side.
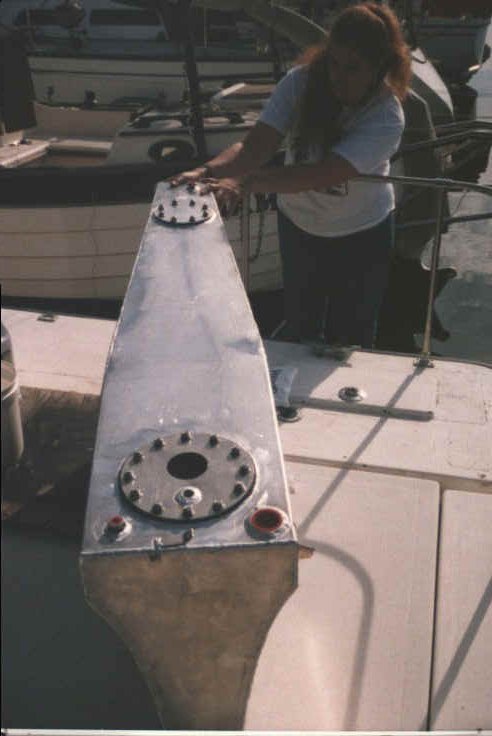
We took the old tank to a marine tank fabricator here in the local
area. I talked over the tank specs with the maker and had him make
the tank up just as I wanted. As you can see Jill is holding up the
new tank (Same size as the old one).
The new tank has two clean out ports. One aft and one forward. The forward clean out plate has the engine fuel pickup and a hole for a Wema fuel sensor built into it. By having it made this way, if I decide at some time in the future, to change the tank gauge, I can just replace the clean out plate and have a new spot to mount another sensor of any size.
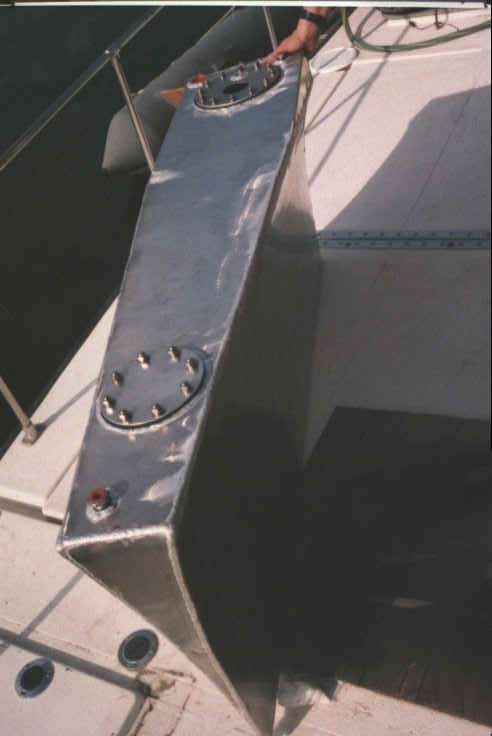
The tank also has a fuel return fitting at the aft end of the tank
with a tube to the bottom of the tank, so any returning fuel will not
foam if the fuel level is getting low. And a breather port on the
forward end of the tank.
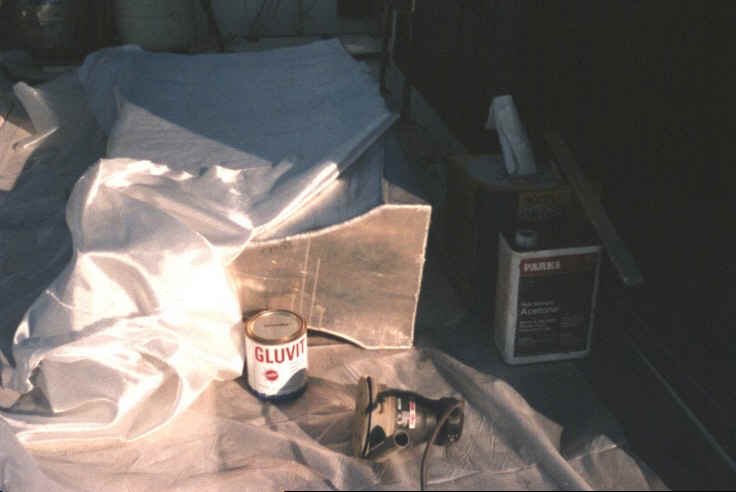
I then covered the new tank in a layer of fiberglass with
"Gluvit". I now say I have an aluminum lined fiberglass
fuel tank! ;-)

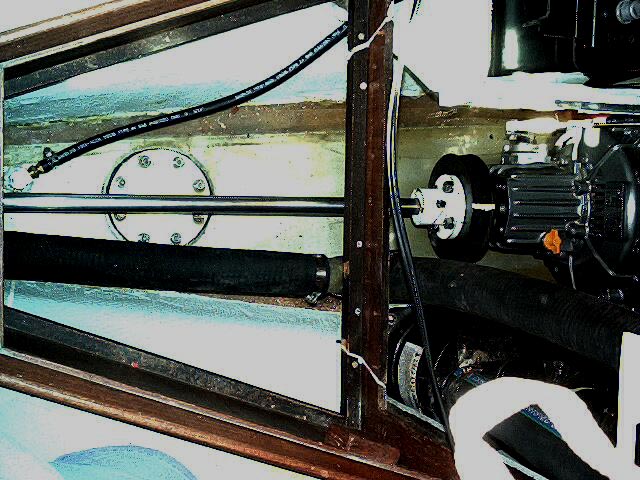
This
is the new tank in place, below the engine with connections.
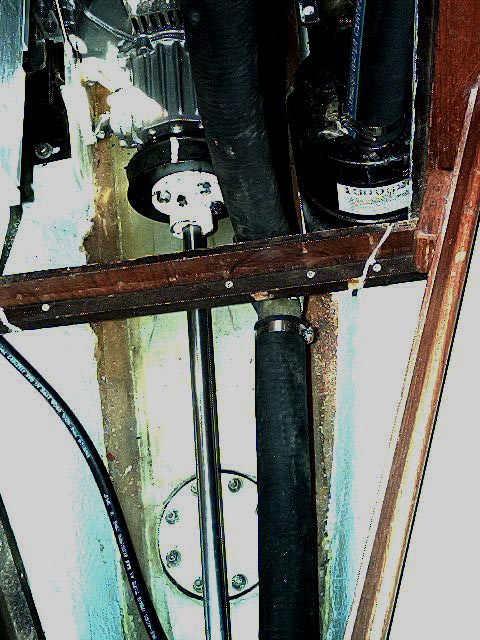
This
is the aft end of the tank. This and the next photo shows the aft
clean out port and the fuel return line.
Well, that's about it. It took a LONG TIME and a LOT
of hard work!
But, once done, you know you have
accomplished the hardest job that can be done on a Nor'Sea!
If
you must do this yourself, give me a call and I may be able to give
you some words of help.