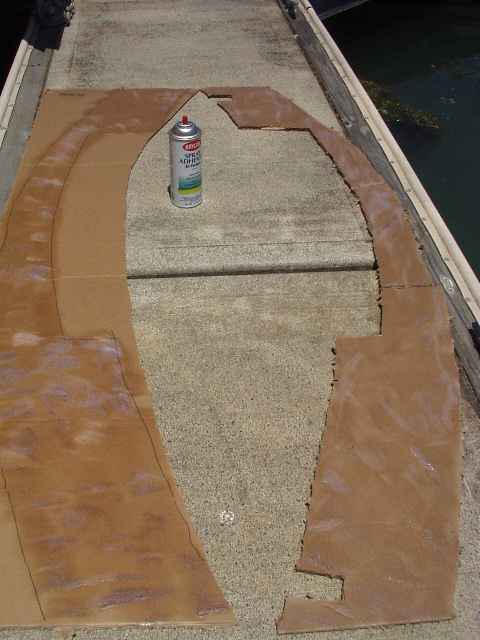
Gluing layers to make the cardboard stronger.
| HOME | Outfitting Guenevere | Contact
us |
Our DVDs |
Video Shorts |
| Short
Hops (Local Bay area cruises) |
Our Plans and Tracking | Our Position
Reports with photos |
Guenevere's Reading Room |
Links we like |
A
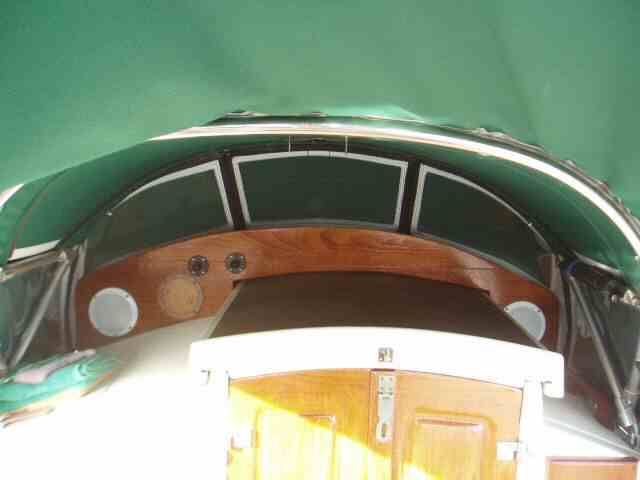
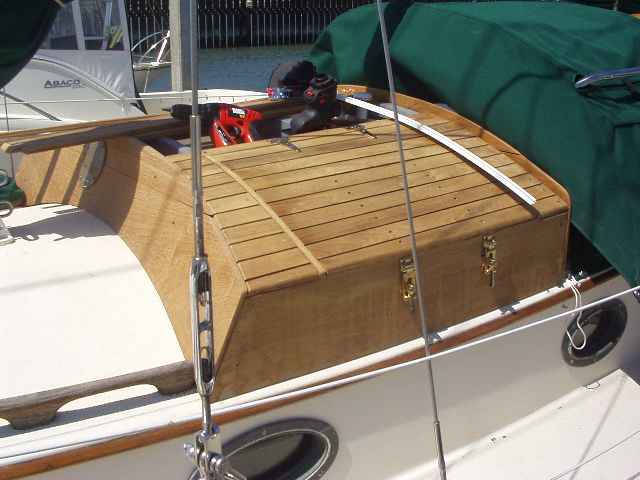
Spray Hood & Storage for Guenevere
We
built and installed a combination Spray Hood
and
propane storage box
Note:
Click on any image to see a
larger view, then use your browser "Back" button to return
to this page.
For some time we knew we needed a spray hood for the boat if we were going to head out into deep blue water. The spray hood keeps water out of the boat by stopping a wave breaking over the boat entering under the front part of the main hatch. At the same time we knew we needed a way to externally store more propaine for cooking. We came up with the idea of a way to accomplish both tasks with one project.
Gluing
layers to make the cardboard stronger.
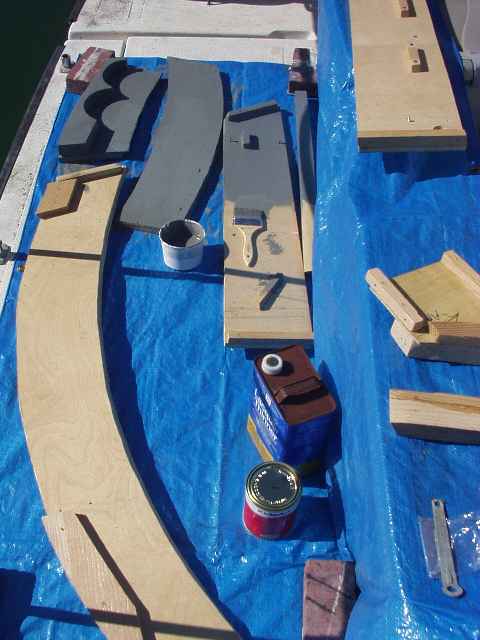
I first did a mockup of what we were thinking about in cardboard. I stopped by a furnature store and picked up some cardboard. I cut the shape of the parts needed, glued a few layers together to make it hold it's shape. I then refined it until it all fit as I wanted it to.
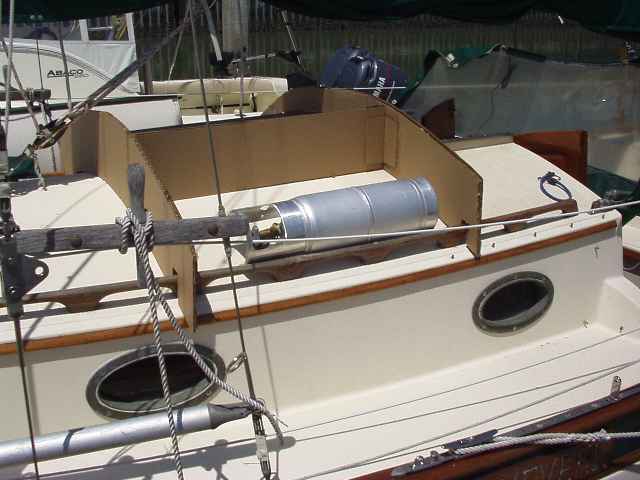
I then used the new tanks to help make the pattern.
Here
you can see the mockup in place. It even has the mockup of the
speakers in place.
I then used the cardboard parts as a pattern
for cutting the plywood.
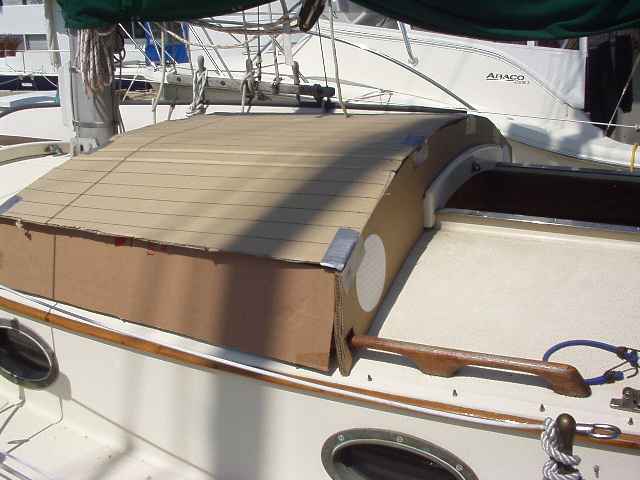
This
is a view looking under the old dodger to get an idea of how well it
would fit.
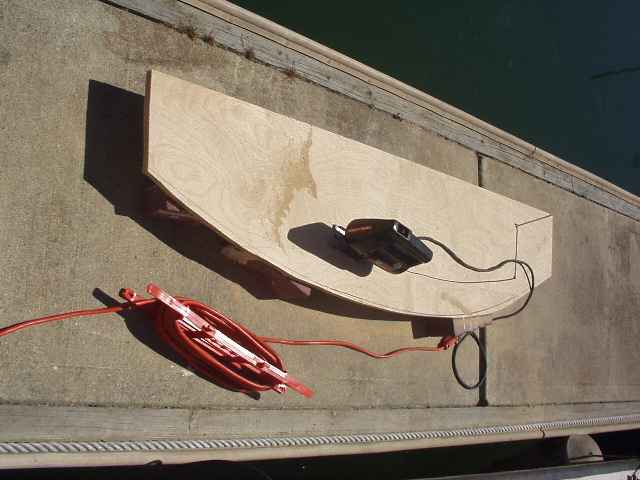
I then used the cardboard to mark plywood and cut it to about the
right size. I always cut the wood large so it can be ground down to
fit.
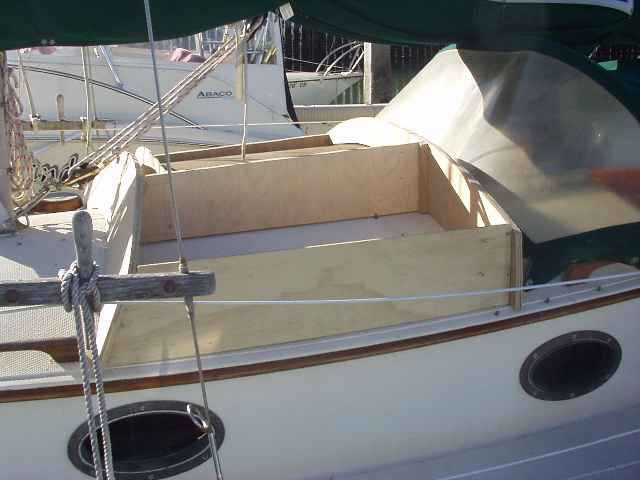
Here
are the basic plywood parts in place. If you build a project anything
like me. You know it gets put together and taken apart a lot of times
before it's finished!
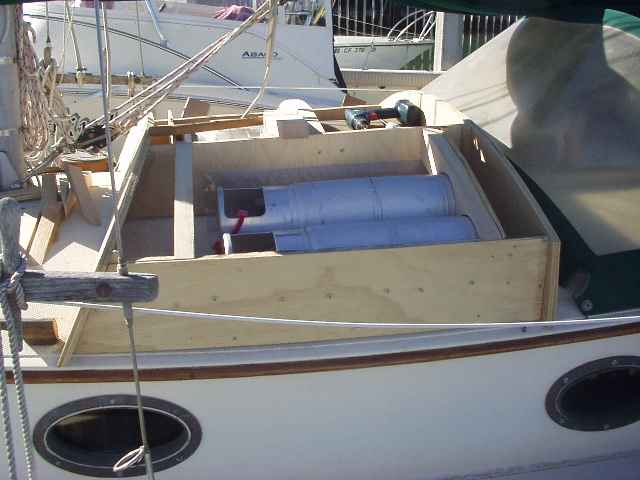
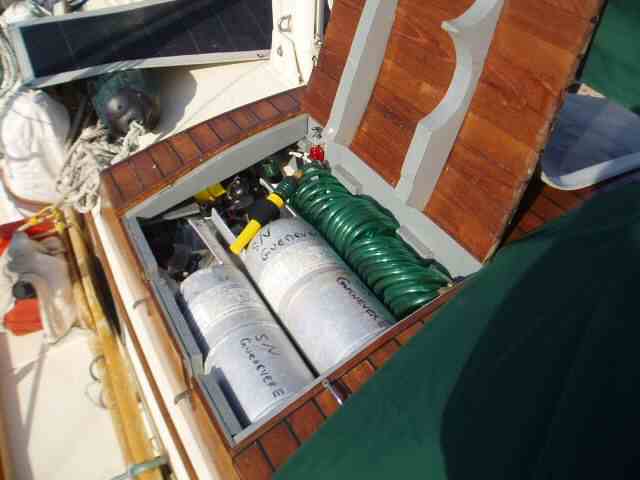
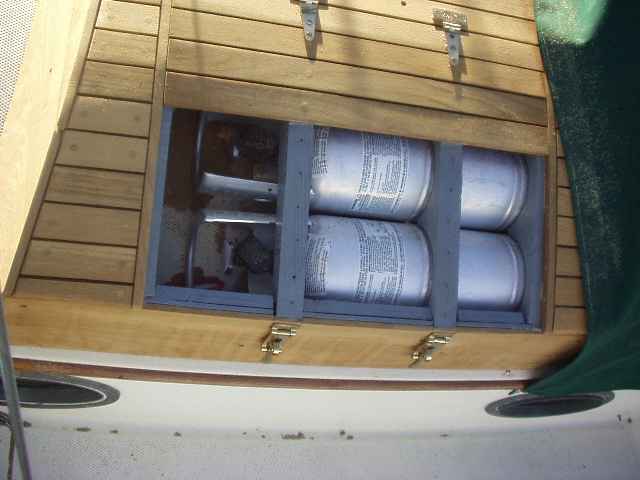
Here
is a photo a bit further along. Notice a seperate compartment aft of
the tanks and forward of the aft bulkhead. It will house and protect
the speakers, electrical power supply and cable ends for instruments
mounted in the cockpit. Also a compartment forward of the main hatch.
I used another round 4 inch bronze port mounted forward to gain ready
access to it. We store spare hose/line in there.
All parts of the plywood structure were sealed with multipal
coats Bilgecoat oil based paint. Neatness did not count! I first
diluted the paint (25% paint 75% thinner) and soaked the plywood.
Then did the same with a 50/50 thinned mix with special attention
paid to the ends. Finally, everything got another 3 coats of the
paint with no thinner.
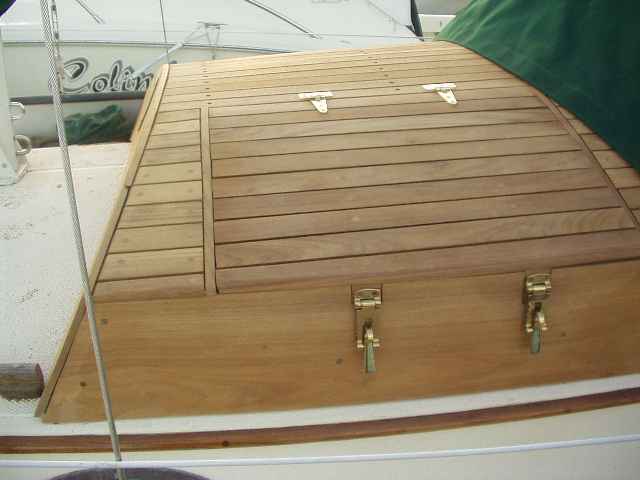
Now
it is time to plank the top.
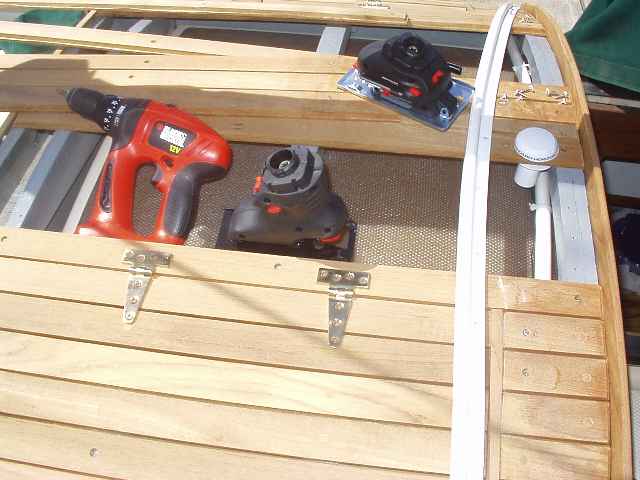
On the full project I made good use of a Black & Decker 12
volt multi-tool. This works very well and allows me to have a drill,
a circurler saw, a jigsaw, a router AND a sander. ALL in one drybox.
Also, if the battery goes bad, I can direct wire it to ships power!!
Here
is how it looks with a couple of the door planks not in place yet.
Getting
there. Now all it takes is finishing up!
In order to lay in the black calking, I taped all of the seams,
then filled in the seams, then removed the tape and shaved the calk
that is above the level of the boards.
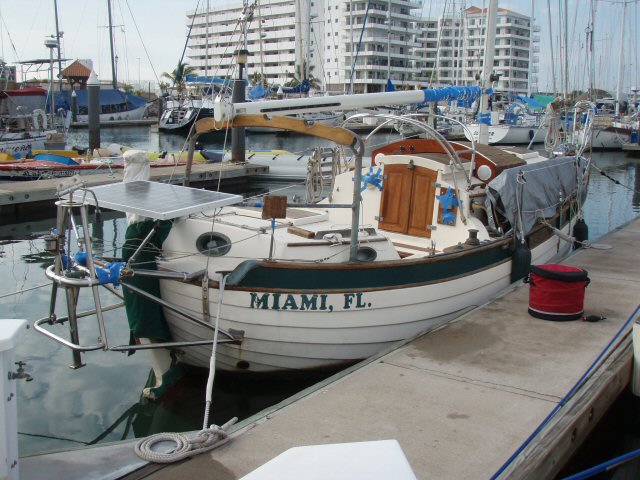
AND......
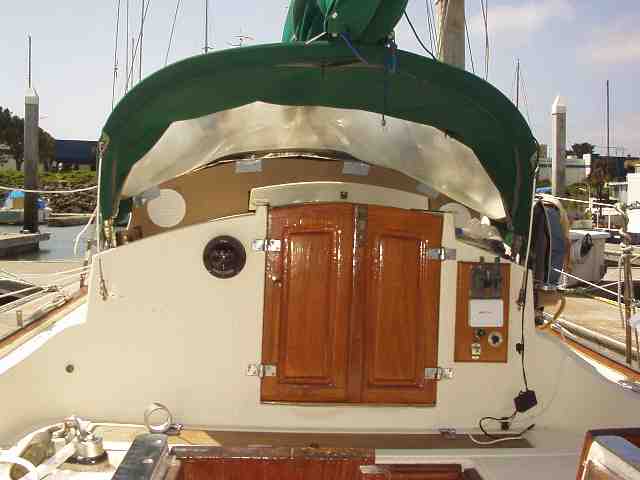
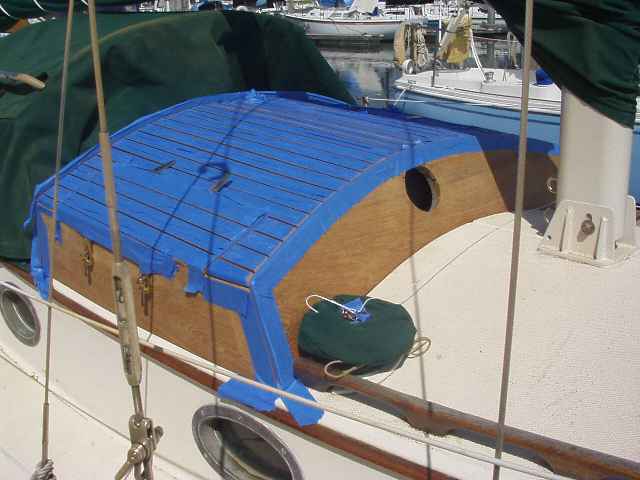
Here are photos of Guenevere in Mazatlan, all prepared for a hurricane. It shows how the box has held up for over 5 hard years in the Sea of Cortez sun!