| We are now (June 23) in Puerto Escondido. On June 19, I dove the bottom to inspect how this bottom was holding up. I AM NOT HAPPY! I had a large amount of hard bottom growth. It took me most of one day to scrape it off. We have limited Internet access and will post a full report with U/W photos as soon as we can. Until then I do NOT recommend this product. |
We first did a CopperPoxy (name brand)
bottom on Guenevere back in 1996. You can read our 1 year report
about it ( http://www.svguenevere.com/2007/cp/cp1.html
), and follow on reports on how it held up, in the San Francisco Bay
all the way to the Sea of Cortez. After 10 years it was time to do
another bottom job and we were in La Paz Mexico. We could not get
more CopperPoxy at that time, so we put on some normal ablative
bottom paint. You can read about that by clicking here.
http://www.svguenevere.com/2007/cp/ Its now April 2010 and we once again
need to do a bottom job. But this time we had the ability to purchase
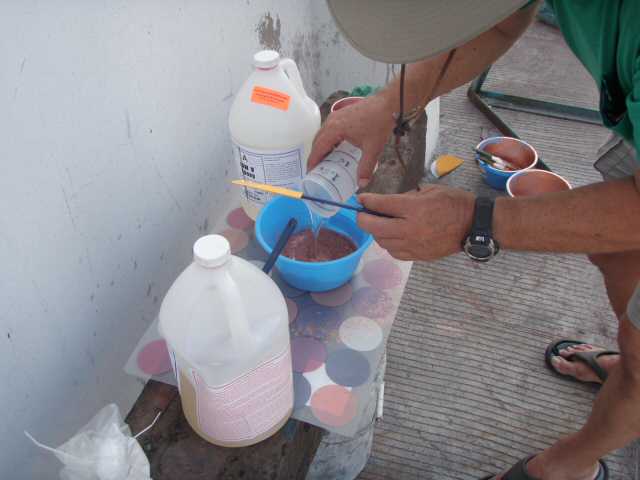
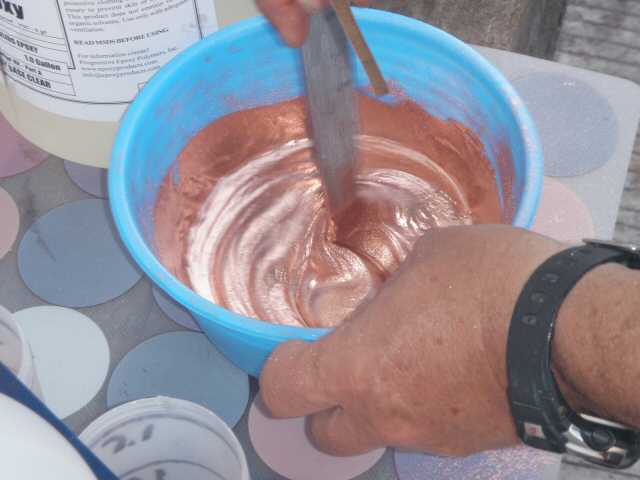
items in the States before we took on the job. We found that we can no longer get CopperPoxy, but by doing a lot of searching on the Internet, we were able to locate a resin supply company that had heard of CopperPoxy and sold something similar. Not exactly the same, and in components instead of pre-mixed. You can see the supplier site at http://www.epoxyproducts.com/copper4u.html. The price as of March 2010 is US$153.00 per kit. That is way lower than other bottom paint! Some of the differences we noted. We ordered what we thought was a 1 one gallon kit. The kit is actually composed of 1 gallon of epoxy, one half gallon of hardener, and a can with 5 pounds of powdered copper. The amount came a bit of a surprise to us as we thought it would be just one gallon mixed. We normally take 1.25 gallon to do our bottom. When fully mixed, with the copper power and all this came to about 1.75 gallon.The one item that is the unknown in this is that in the product description of the copper it states that each flake is coated in some type of corrosion preventative. This is used to make sure it does not cake up and corrode into a useless ball before use. We hope this will not have an adverse effect on the mixed coating. In the original CopperPoxy, once applied, you could just splash the boat. The direction with this product suggests that once applied, and before the splash, you lightly sand the bottom to expose the first layer of copper. We also noted that the copper in CopperPoxy was said to be 20 Mil spheres. The copper in this product is said to be 41 Mil. We decided to give it a try. Application NOTE: The copper that comes with the kit is VERY fine! It is almost the same as baby powder. If there is any wind at all, it will blow all over everywhere. The epoxy is supposed to be mixed 2 parts resin to 1 part hardener. The documentation calls for 3 to 6 pounds of copper to one gallon of epoxy. With 5 pounds supplied, I measured out to use all of it. I worked out the mixes on paper before mixing anything. #1. Unless you have a couple of people putting it on, this is WAY WAY to big a batch! We knew this from the start and never mixed this much. 4 cups part A (Resin) #2. We lost about half of the first batch we mixed this size. Unless you have at least 2 people painting it on, do not mix this much! 2 cups part A (Resin) #3. Just right for one person to apply with the working time at about 75 to 80 degrees F. We lost about half of one batch because of direct sun on the products during the day and by 3 PM it was way to hot! 1 cups part A (Resin) #4. We mixed a couple of batches this size for the small areas that needed to be coated once a block was moved and we could get to the area.. 1/2 cups part A (Resin) We used a brush to apply it as the laps
on the hull make using a roller very hard to use. At this mix, the
product is easy to apply with a brush. It comes out to about the same
consistency as regular bottom paint. A few photos of the process... 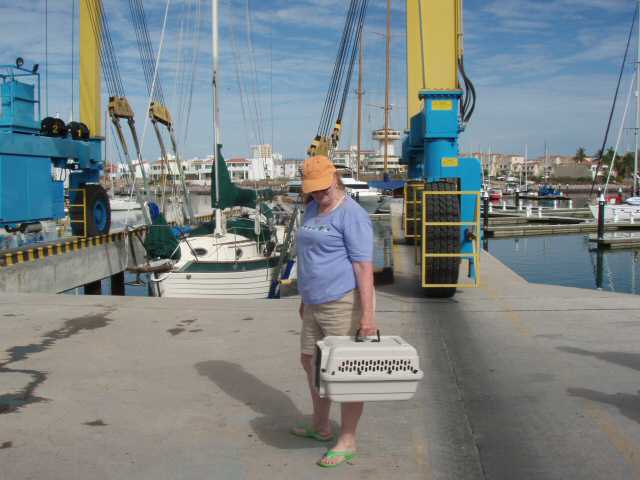 The navigator and crew go ashore.
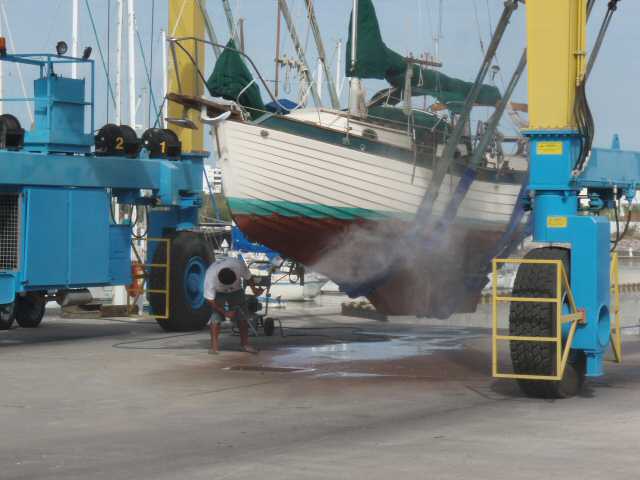
Pressure washing the old stuff off.
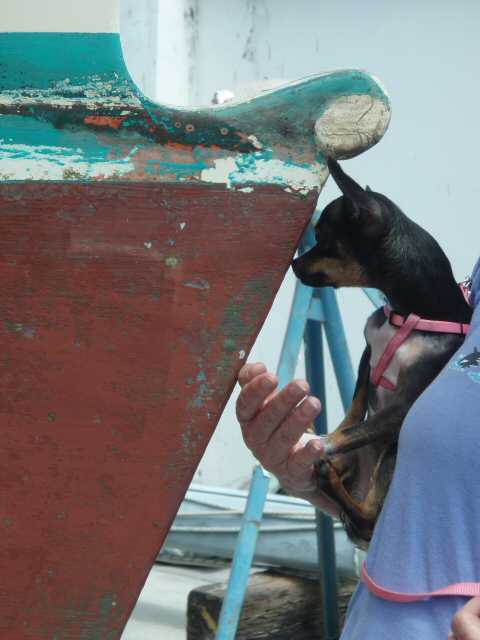
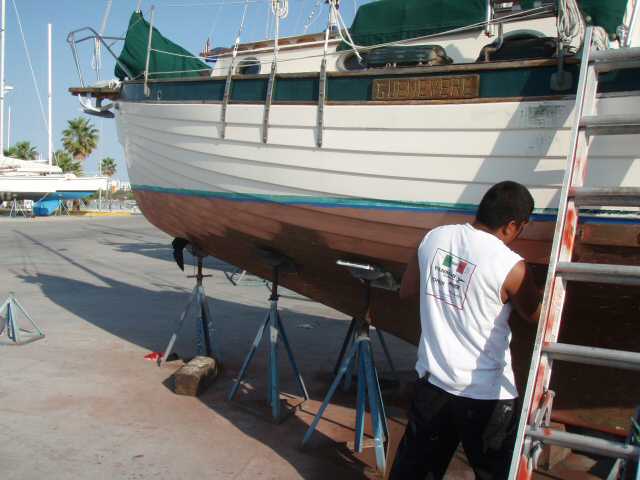
The new crew inspects the rudder.
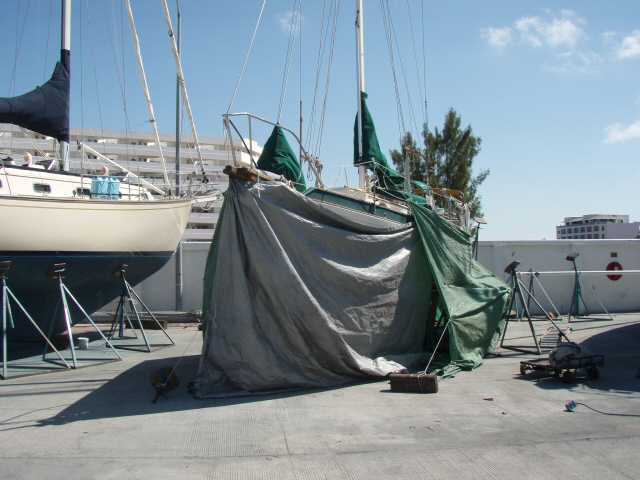
Here in Mazatlan, they tent during all sanding.
Measuring in the cockpit
Mixing
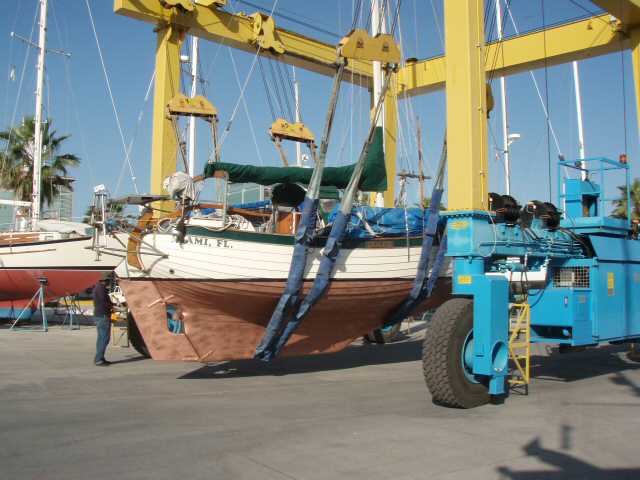
Photo by Rick Bradshaw of S/V La Vita All of the workers in the yard started calling us "The GOLD boat". We heard "oro", the mexican word for gold, a LOT.
Application by one of the crew. I mixed each batch, they applied it.
The completed job, ready for the splash.
Quote from CopperPoxy Maintenance
Instructions Rev. 8-25-97
To remain effective the CopperPoxy
finish must be cleaned periodically to remove any slime or algal
“grass.” Otherwise, these materials can act as a barrier and
CopperPoxy will not repel hard growth as expected. The frequency of
Cleaning depends on those factors which control growth rates. Water
temperature and water cleanliness are of particular importance. The
need to scrub a CopperPoxy coated boat bottom varies from twice a
month, at certain times, in Florida waters to once every three months
in San Francisco Bay and once every six months in Ketchikan Alaska.More info was provided, but you get the idea, like all bottom systems, this IS NOT a paint and forget it product We know that MANY people do not believe this system works! All we can say is that the CopperPoxy DID WORK for us in the past! We are NOT telling any one to use it. As the captains of our own boats, each must make their own decision. I know that this new system is a bit different, and will report on how it holds up. Items on the agenda from our last haul... We check the cutlass bearing each haul. We were happy to find ours as new, NO play at all on our shaft. We shimmed our rudder Pintles and Gudgeons with HDPE on the last haul. So far the rudder moves from side to side like silk. No binding of any sort. Once out of the water I checked for any play in the Pintles and Gudgeons, Then the yard manager checked them. NO PLAY AT ALL! They now feel better than they have ever felt since we have owned the boat. a special thank you... **** And we MUST add a special "THANK YOU" to Total Yacht Works for the VERY good yard work! Jill and I class all yards by the boss and the workers. Most yards that we have been in have workers that are good. But the yards we seek out do not have good workers, they have artisans! And Total Yacht Works falls into this category. If you need work done on your boat, head this way! Greg & Jill |
|
call us up on a map and see where we are! To do this just click on the a link I have placed below... |